


Lighting Blog
Complete Maintenance Guide for Moving‑Head Stage Lights

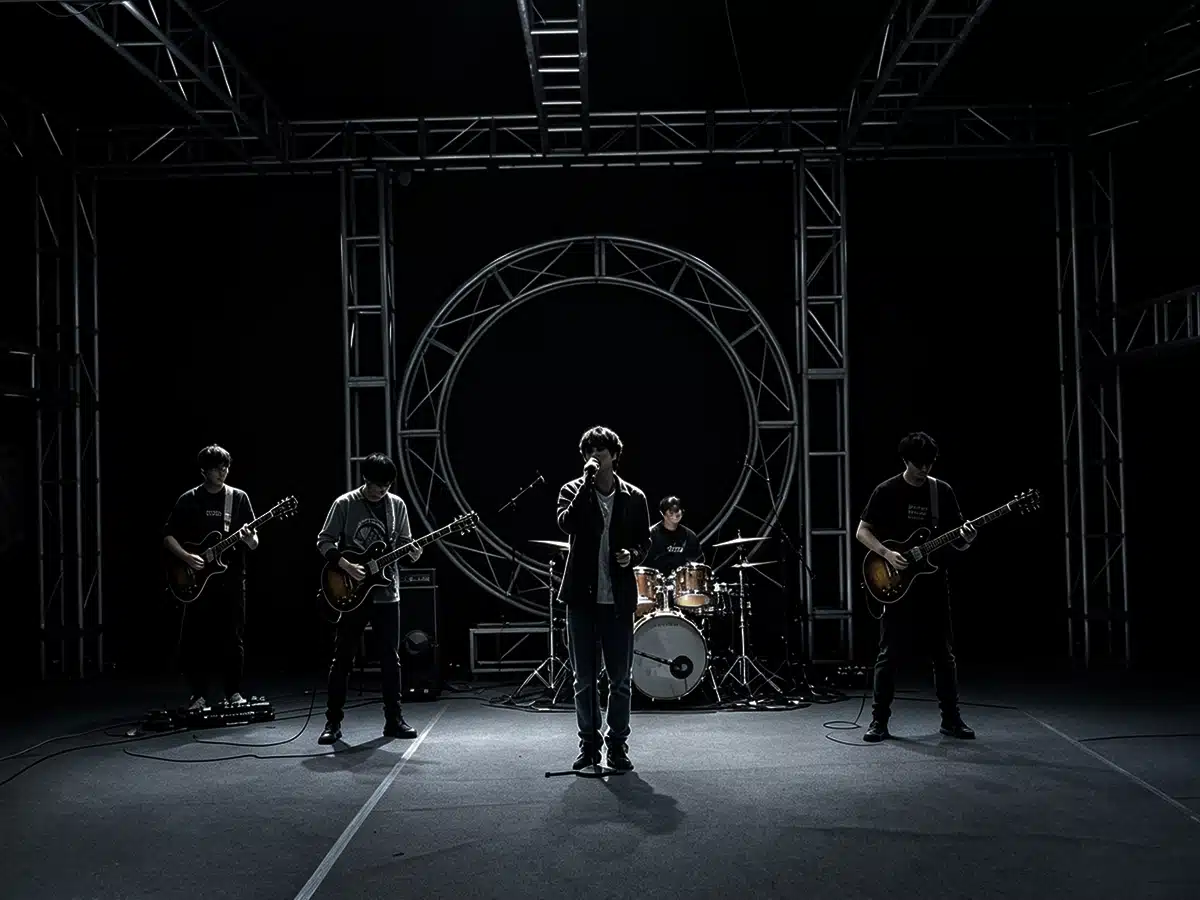
Moving‑head stage lights require systematic maintenance when operating in high‑dust, heavy‑haze‑oil and high‑heat environments. Poor upkeep can lead to dim output, damaged lens coatings, and in severe cases, overheating and main‑board burnout.
This article details routine maintenance procedures for moving‑head lights, laid out in sequential steps below.
Tools & Safety Preparations
Tool list: 99 % anhydrous industrial‑grade ethanol, distilled water, professional optical lint‑free cloth / microfiber cloth, long‑wood‑shaft medical cotton swabs, compressed‑air gun (or anti‑static air blower), anti‑static soft brush, compact vacuum cleaner, screwdriver set, neutral dish detergent.
Safety rules: Always disconnect mains power before servicing. After power‑off, allow the fixture to cool for 30‑45 minutes. Do not disassemble until the housing and lenses reach full room temperature to prevent thermal‑shock lens cracking.
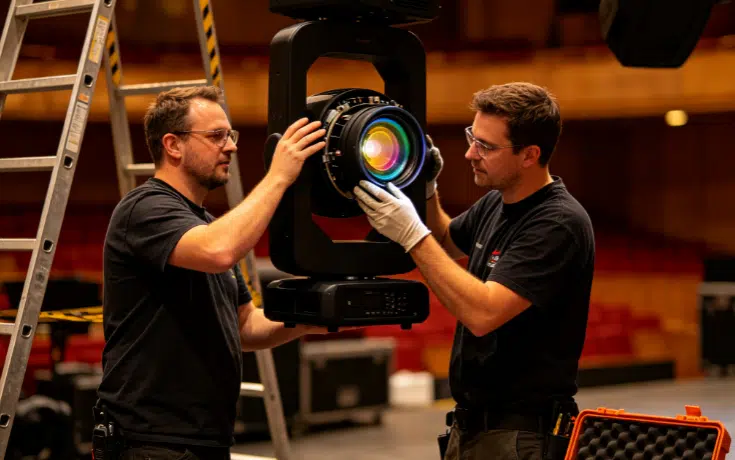
Standard Modular Maintenance Workflow for Stage Moving‑Head Lights
1. Housing & Mechanical Structure Cleaning
Dilute neutral dish detergent into warm water at a 1:30 ratio and stir thoroughly until no sediment remains.
Prepare two clean lint‑free microfiber cloths (one damp, one dry). Never use rough rags or lint‑prone cotton fabrics.
Wet the cloth with the diluted solution and wring out firmly until only slightly damp. Do not wipe with dripping‑wet cloths, as water can seep through ventilation slots and screw gaps onto internal circuitry.
Wipe in one direction, top‑down and following surface grain. Avoid circular rubbing, which can grind dust particles into fine scratches across painted surfaces.
For heavy haze‑oil buildup, apply the damp cloth locally for 30 seconds to soften grime, then wipe away gently. Do not scrape with blades or fingernails.
Immediately dry all surfaces thoroughly after cleaning. Pay special attention to housing seams, screw holes and button edges to prevent water‑induced rust.
Chemicals strictly prohibited: Acetone, lacquer thinner, industrial solvents, strong‑acid / strong‑alkaline cleaners, and heavy‑duty oil solvents. Aggressive solvents will dissolve surface paint and cause cracking of ABS plastic components.
2. Optical Lenses, Color Wheels & Gobo Wheels (follow sequence strictly)
Set the compressed‑air gun output pressure to 0.2‑0.3 MPa. Hold the nozzle at a 45‑degree angle, 5‑10 cm from the optical surface, and blow debris in one sweeping direction.
Do not blow straight perpendicular (90°) onto optics, as this can press grit into anti‑reflection coatings and cause scratches. Never dry‑wipe with cloths before loose particles are fully removed.
Use long‑shaft medical degreased cotton swabs with distilled / deionized water. Tap water or mineral water is forbidden, as mineral residues will leave watermarks on lens surfaces.
Dampen the swab and squeeze excess liquid against the bottle rim so it is damp but not dripping.
Place the swab lightly at the lens center and work outward toward the edge in slow clockwise circular motions. Let the cotton absorb contaminants without applying downward pressure.
One‑swab‑per‑pass rule: Once a cotton swab has swept across the lens surface, discard it immediately. Do not reuse the same swab for back‑and‑forth wiping to avoid secondary scratching.
For heavy haze‑film deposits, 99 % high‑purity anhydrous ethanol is preferred. It evaporates completely without streaks and dissolves propylene‑glycol / glycerin‑based oil residue from haze machines. For large front‑output lenses, fold lint‑free cloth twice to form a sharp triangular tip. Moisten the tip with a small amount of anhydrous ethanol and wipe in a single continuous parallel stroke. Use a fresh folded section of cloth for every pass.
If heavy grime requires dedicated glass‑cleaning fluid: surfactant residues from cleaners can bake and turn yellow under high lamp‑operating temperatures. After cleaning, swab twice with distilled water to fully neutralize detergent residue, then dry rapidly with compressed air.
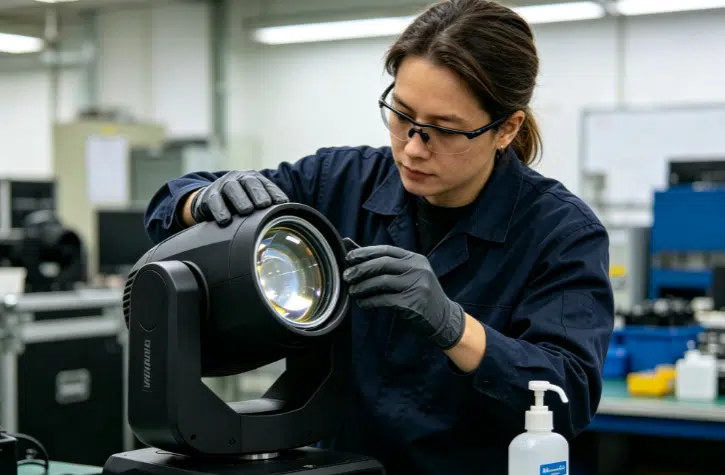
3. Cooling Fans & Heat‑Sink Channels
Use a soft brush paired with a vacuum cleaner to remove dust from fan blades and frames.
Critical note: Secure fan blades manually or with a screwdriver while blowing compressed air. Free‑spinning reverse rotation can generate back‑EMF, damaging main‑board electronics or fan bearings.
Blow compressed air through gaps in heat‑sink fins while applying vacuum suction at duct outlets to extract loosened dust.
4. Air Filter Elements (foam / metal mesh filters)
Remove filters by loosening cover screws.
For light dust buildup: clean by reverse vacuuming or compressed‑air blowing.
For heavy oil contamination: soak and wash in warm soapy water, then air‑dry completely in shade. Do not reinstall while damp.
Replace filters with matching‑specification new units if they show aging, tearing or permanent hardening.
Scheduled Maintenance Schedule
- Daily / After each show: Remove coarse surface dust from housing; visually inspect intake and exhaust vents for blockages.
- Weekly / Every 50 operating hours: Inspect and clean air filters; verify no oil‑sticky residue or clogging.
- Monthly / Every 200 operating hours: Perform optical cleaning on front output lens, CMY filters, color wheels and gobo wheels to restore light transmission and resolve blurry‑gobo issues.
- Quarterly / Deep maintenance: Open head and base enclosures. Clean internal fans, heat sinks and gear‑belt assemblies. Inspect belt tension and bearing dust accumulation.